Call Us:
+92-21-111-052-052
,
+92-309-7772464
Overhead tanks for chemical storage are critical & the utmost care should be taken while it is being constructed. Ressichem has wide range of chemicals presented as a system for overhead tanks which can resist most types of corrosive chemicals that can be stored in overhead tanks.
It is essential that the concrete pouring of the overhead tank should be planned accordingly so that there is not much maintenance work to be done to the tank once it is in operation. There may be a need of recoating the epoxy coat on top of the final plastered surface from time to time to upkeep the working life of the tank.
When planning for the overhead tank, it is important to make sure that the water pipe sleeves are carefully planned within the formwork to have proper water inlet and outlet points. If there is breaking or hacking of the concrete after the overhead tank has been casted, it becomes diffcult to stop the water leakage from pipe inlets and outlets.
This is relevant to the type of chemicals being stored, Pleaserefer to chemical resistivity chart at the end of this document.
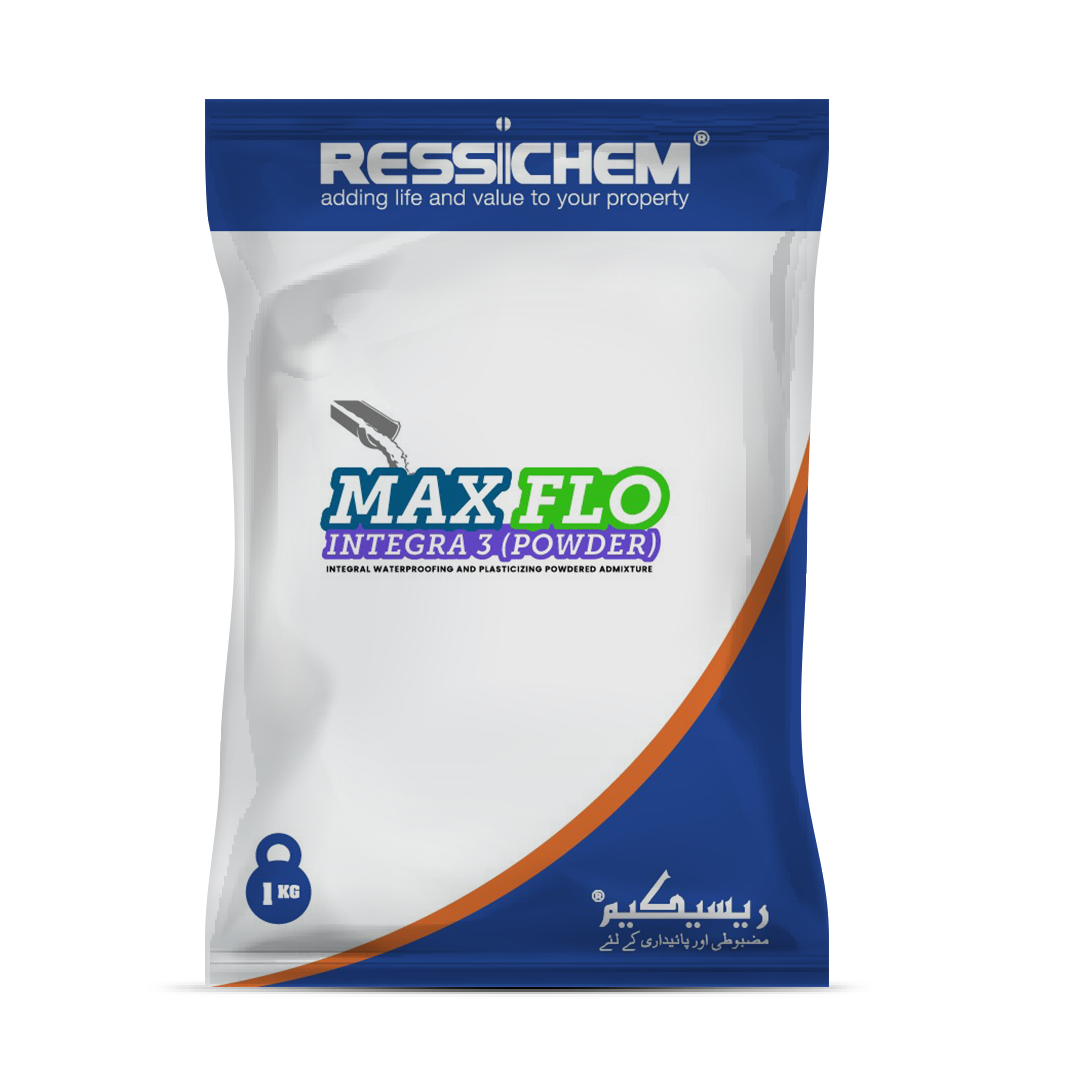
Good quality formwork should always be used when pouring an area as sensitive & essential as the overhead tank. It is essential to make note & plan of all the pipe inlets & outlets within the form work to avoid leakage problems from these points when the overhead tank is in use. The concrete to be poured should be of exceptional quality. All the concrete to be poured for the tank (For chemical use) should have a minimum strength of 6500 PSI at 28 Days. The addition of a good integral waterproofing admixture is essential to make concrete as water resistant as possible. Max Flo Integra 4 (Powder) is recommended as an integral waterproofing admixture for the pouring of overhead tank concrete in this case. The dosage of this material recommended should be as per the mix design of the concrete, the mix design is usually communicated to Ressichem by the client / site engineer.

For large industrial tanks where the pouring in one go is not possible, please consult with Ressichem technician for solutions of concrete joints for chemical containing overhead tanks.
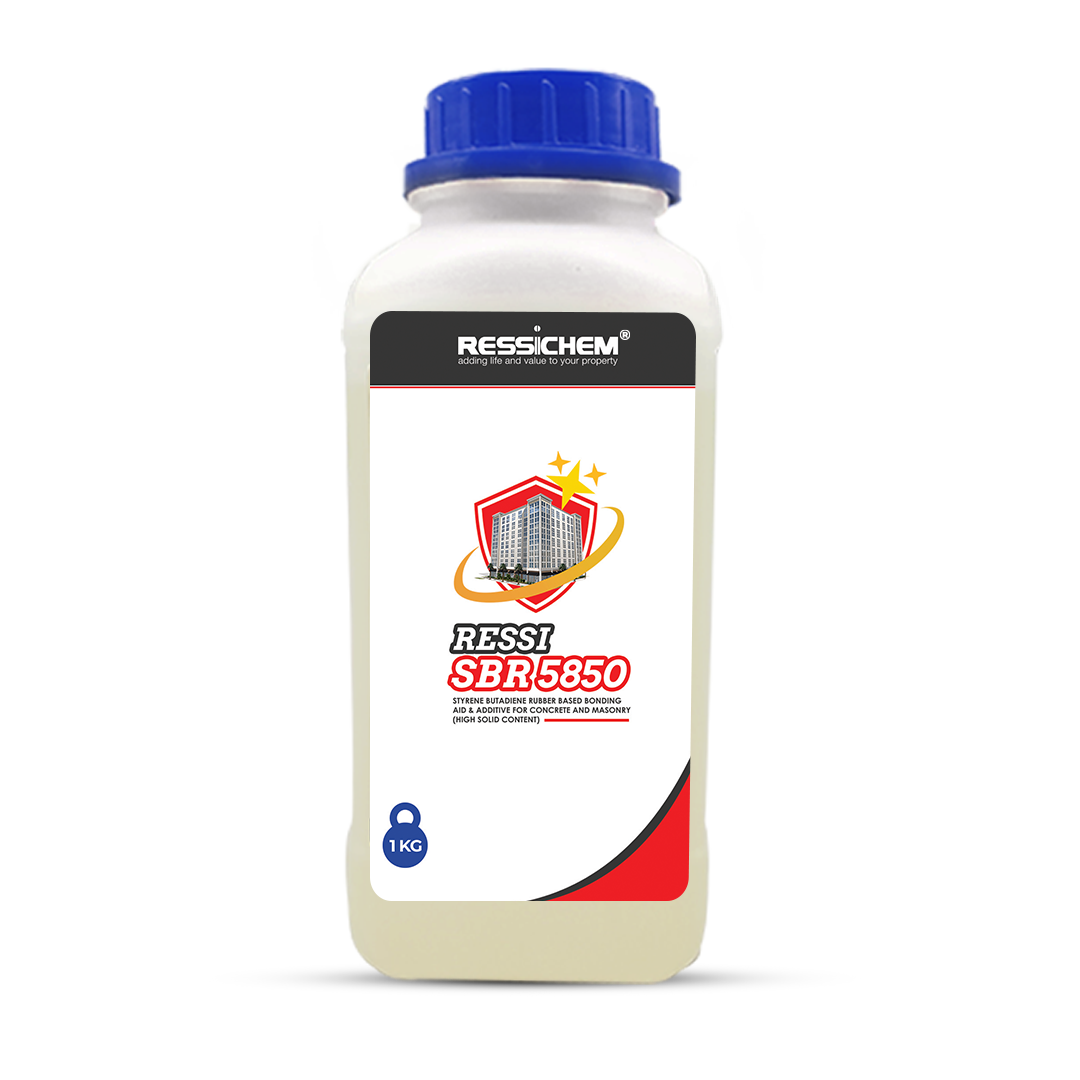
Once the formwork has been removed, it is essential to repair all the defects of the concrete with a suitable repairing material. A combination of Ressi SBR 5850 with a mortar of cement and sand at a suitable ratio of 1:3 (Cement: sand) can be used as an appropriate repairing material for minor concrete defects and voids. The ratio of Ressi SBR 5850 to be used in this case would be 1 KG of Ressi SBR 5850 for every 50 KG bag of cement. Once the concrete is repaired and of a sound nature, subsequent treatment of various waterproofing materials can be done over the concrete surface of the overhead tank

Water Guard Crysta Coat 101 is a crystalline waterproofing slurry coat which is to be coated over the prepared concrete surface on all the exterior & interior surfaces of the overhead tank. At least two coats of Water Guard Crysta Coat 101 are recommended & are to be applied in right angled patterns. If the first coat is applied in top to bottom pattern the second coat should be applied in left to right patterns. It is recommended to make sure that all the concrete that has been casted internally & externally is coated properly with Water Guard Crysta Coat 101 (For further application guidance, please refer to the product datasheet).

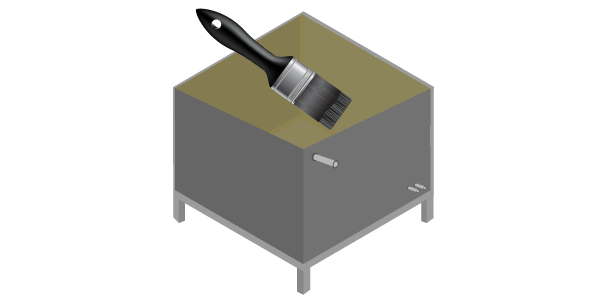
It is recommended to make internal chamfers at the base & on all the walls of the overhead tank. All angles of 90° in the base & the walls of the tank should be neutralized. The chamfer should be at least 6 inches tall & wide throughout the all the corners of the overhead tank. (Please see the illustration for better understanding). The material recommended in this case for the making of chamfer for the overhead tank is a cement sand mortar with the inclusion of Ressi SBR 5850. The ratio of the cement sand mortar in this case would be 1:3 (Cement:sand). The amount of SBR to be used in this case would be 1 Ltr of Ressi SBR 5850 to be used with every 50 KG bag of cement used in the making of the chamfer. Once the chamfers have been completed, they too should be coated with a crystalline coating of Water Guard Crysta Coat 101.


Note: Once the chamfers work has been completed & coating of Water Guard Crysta Coat 101 has been done both internally & externally over all the concrete surfaces, it is recommended to have a flood test for 72 hours of the overhead tank (Filling up the tank with water) to check if there are any leakages in the tank, the points with leakage should be rectified prior to plastering. It is essential that all pipe inlets and outlets should be checked thoroughly for any water leakage at this time. The initial flood test is to be done with water & not the chemical.
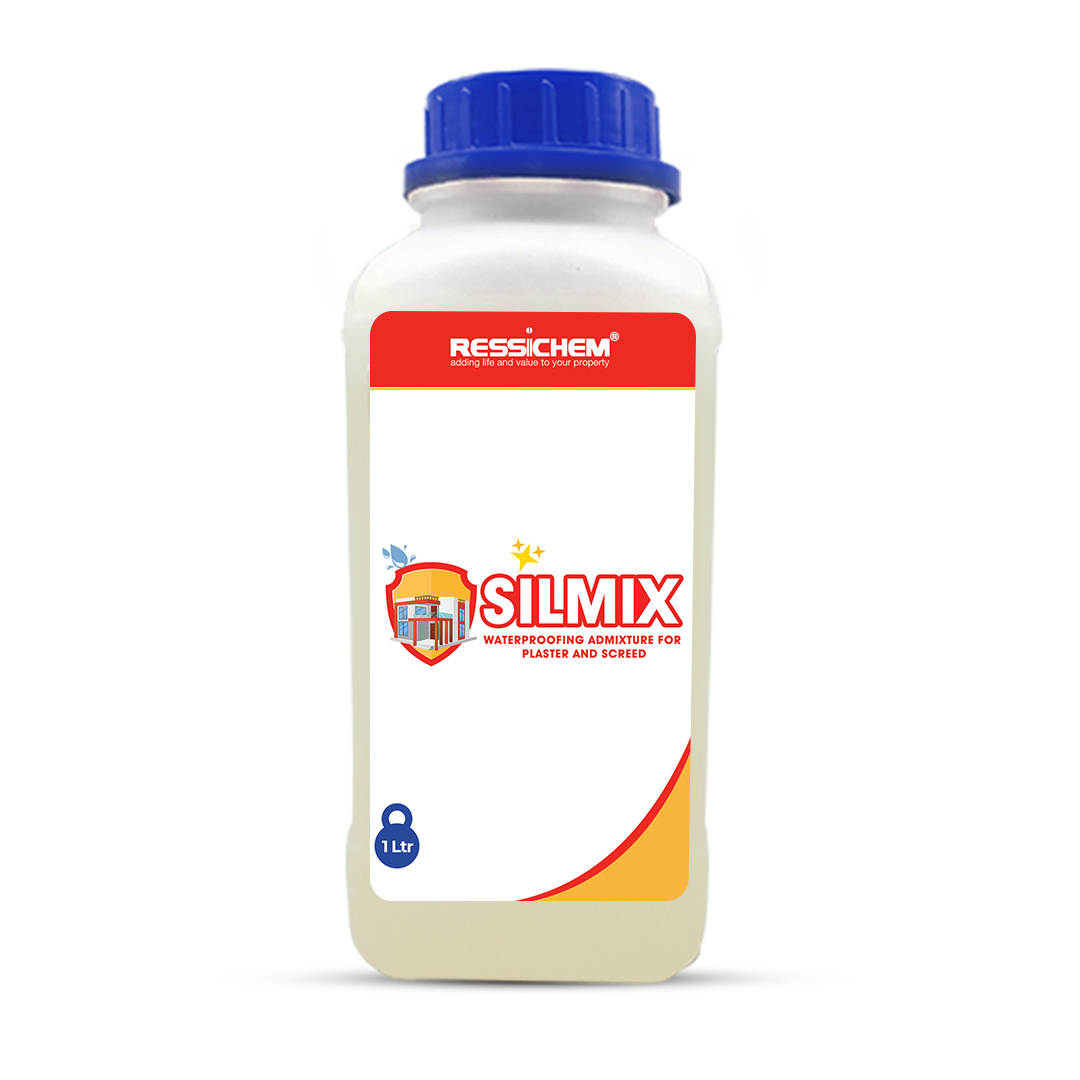
Once all the chamfer work has been properly executed, the inner & outer surface of the overhead tank should be ready to plaster. It is recommended to use Silmix & Ressi SBR 5850 as mortar admixtures to make sure that there are no cracks in the plaster and the plaster itself is water repellent. It is recommended to add 1 Liter of Silmix along with 1 Ltr of Ressi SBR 5850 with every bag of cement used for the plastering of internal and external areas of the overhead tank. It is to be ensured that the internal plaster of the overhead tank should be finished slightly rough, exposing some grains using a foam (Foam finish plaster). This will provide a good key for the subsequent coating of Zepoxy 400 (Chemical Resistant Coating).

Once all the internal & external plastering works have been completed, it is recommended to apply at least 2 coats of Zepoxy 400 in all the internal areas of the overhead tank. It is recommended that both the coats are applied in opposite right-angled directions. If the first coat is applied with vertical brush strokes, the second coat is to be applied with horizontal brush strokes. (For further application & mixing guidelines of Zepoxy 400, please refer to the technical datasheet of the product)
Zepoxy 400 has certain limitations when it comes to resisting certain types of chemicals. Following is a chemical resistivity chart of Zepoxy 400. If further tests with regards to chemical resistivity is required, please consult Ressichem Technician for further details.
| Chemical | Resistance |
|---|---|
| Acetic Acid 99% | NR |
| Acetic Acid 33% | 1 Day |
| HBr47% | Excellent |
| HCl12% | Excellent |
| Nitric Acid 57% | NR |
| Nitric Acid 19% | Excellent |
| Sulfuric Acid 98% | NR |
| Sulfuric Acid 33% | Excellent |
| ECH 50% in water | NR |
| DETA 50% in water | 1 Day |
| Chemical | Resistance |
|---|---|
| Toluene | Excellent |
| Petrol | Excellent |
| Latic Acid | Good |
| Sodium Hydroxide 50% | Excellent |
| Water at 70°C | Excellent |
| sodium chloride 30% | Excellent |
| Methanol | NR |
| MEK | NR |
|
MIBK |
Excellent |
|
Key:
Excellent: < 5% 80-day mass change Good: 5-10% 80-day mass change 1-day: < 10% 1-day mass change No Resistance: > 10 % 1-day mass change |
Consult Ressichem technician incase further information isrequired on the subject.
Is a transitional edge between two faces of an object. Sometimes defined as a form of bevel, it is often created at a 45° angle between two adjoining right-angled faces. ( Wikipedia). In waterproofing systems, making a chamfer is of great significance. Water normally gets stuck in areas which have sharp corners of 90° & on several occasions the leakage of water occurs from this the sharp angle of the water retaining bodies or areas where significant waterproofing is required. To minimize the effect of this, a chamfer is usually created to make sure that there are no sharp angles in the structure to minimize the effect of water coming in & out of the structure.

Waterproofing System For Overhead Tanks (Chemical Storage)
Waterproofing System For Overhead Tanks (Chemical Storage)