Call Us:
+92-21-111-052-052
,
+92-309-7772464
Basement waterproofing is one of the most important measures that should be taken to protect the structure. There are a lot of things that may lead to a wet basement. The walls of the basement may have cracks that allow water to leak in. Heavy rains are also one of the causes of damp basements. The basement is just as important as any part of the structure and it is essential to keep it in good condition. For this reason, it is vital to always make sure that the basement is always dry.

One of the most important reasons to waterproof the basement is that it is a big part of the foundation of the structure. This means that anything that happens to the basement contributes to what will happen to the foundation of the Structure. Ressichem has a variety of products which can be used at the time of construction to ensure long terms maintenance free basements. All these products are used as a system to ensure watertight basements.

Once the excavation of the ground has been done, it is important to constantly dewater the area and make sure that the area where the basement is to be constructed is kept dry. Once the excavation has been completed, stone soling is done after which lean concrete is laid. Once the lean concrete has been properly cured and dried, it is recommended to apply 2 coats of Water Guard 491 over the lean concrete surface.

The application of Water Guard 491 is to be done in opposite right-angled directions (if the first coat is applied left to right, the second coat is applied top to bottom). Once the coating of Water Guard 491 has been dried out, it is recommended to sandwich the coating by applying another layer of lean concrete over the coating of Water Guard 491. The steel reinforcement is to be done over the second layer of lean concrete.

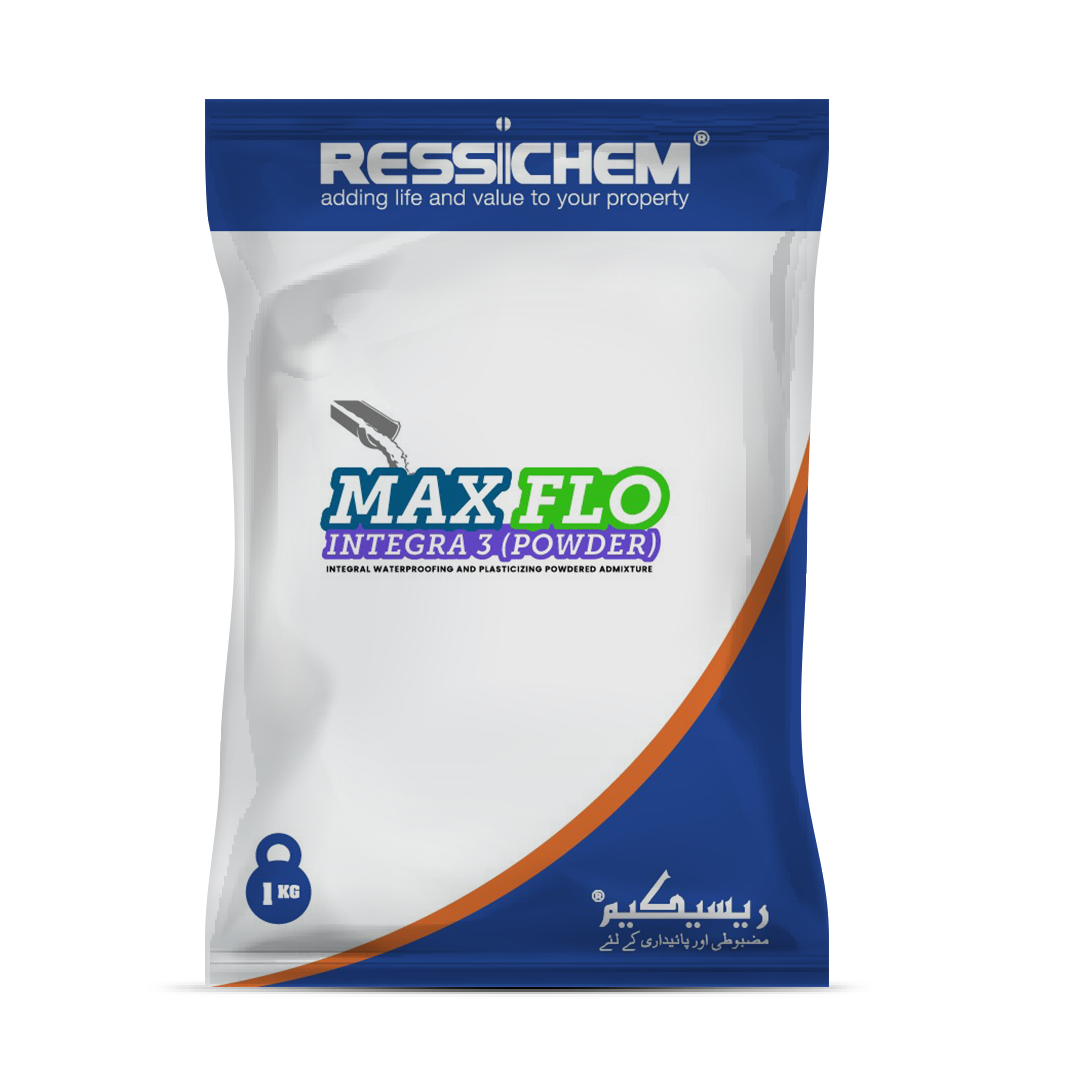
If possible, it is recommended to pour the raft and retaining wall of the concrete in one go. The addition of Max Flo Integra 3 (Powder) Admixture is recommended in the concrete. It is recommended to add at least 1 KG of Max Flo Integra 3 (Powder) for concrete produced for every 50 KG bag of cement.

A proper engineering mix design for concrete can be done for efficient dosing of the concrete to achieve the right flow properties, strength, and reduced water permeability of the concrete.
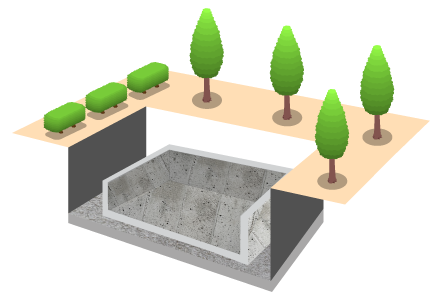
Incase if it is not possible to pour the raft and the retaining wall in one go, it is recommended to lay the retaining wall to at least 3 to 4 feet above the raft floor level. It is recommended to lay Ressi Swell Bar Pro 60 (Swellable bar) over the joint between the retaining walls (For further information on how Ressi Swell Bar Pro 60 is applied, please refer to the product Datasheet). Once the application of Ressi Swell Bar Pro 60 has been done, the remaining retaining wall should be poured with the addition of Max Flo Integra 3 (Powder) in it.

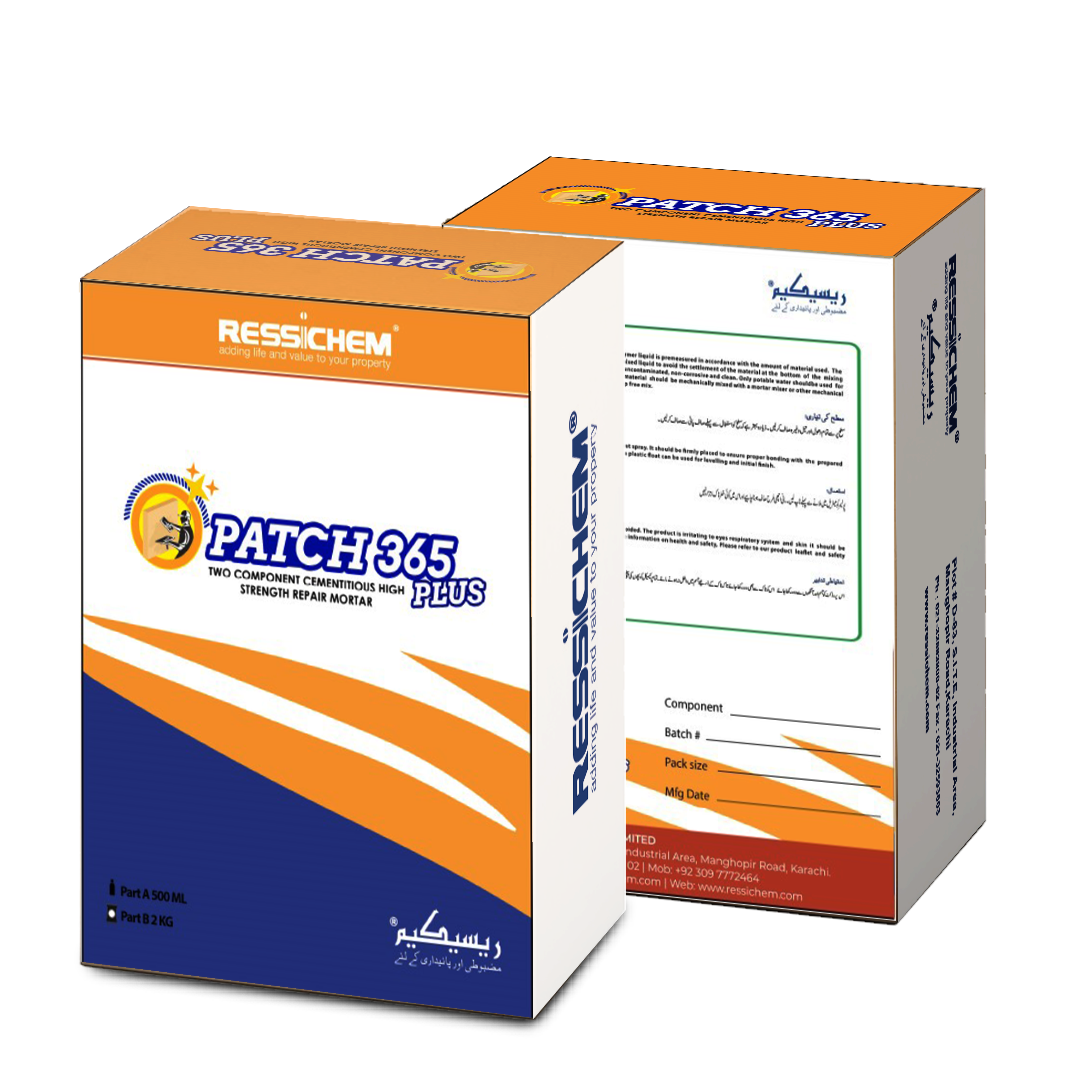
In principle after concrete de shutter of the raft and retaining wall there should not be any defects within the concrete. Once the formwork has been removed. It is essential to repair all the defects of the concrete with a suitable repairing material. Patch 365 Plus is a suitable repairing material for the minor concrete defects and the voids created by the metal strips (Incase wooden formwork has been used). Once the concrete is repaired and of a sound nature subsequent treatment of various waterproofing materials can be done over the concrete surface of the basement.

Water Guard Crysta Coat 101 is a high end crystalline waterproofing slurry coat which is to be coated over the prepared concrete surface on all the exterior and interior surfaces of the basement. At least two coats of Water Guard Crysta Coat 101 are recommended in right angled patterns.

If the first coat is applied in top to bottom pattern the second coat should be applied in left to right patterns. It is recommended to make sure that all the concrete that has been cast internally and externally is coated properly with Water Guard Crysta Coat 101 (For further application guidance, please refer to the product datasheet)

It is recommended to use Patch 365 Plus to make the chamfers between the external walls of the raft and retaining walls. The chamfers should be at least 6 inches wide and should cover all the intersection of the external raft and the retaining wall area of the basement. Patch 365 Plus is a two-component cementitious high strength repair mortar; due to its high strength and durability it is an ideal material to be used for the making of chamfers in this case. Please refer to the product datasheet for further information.

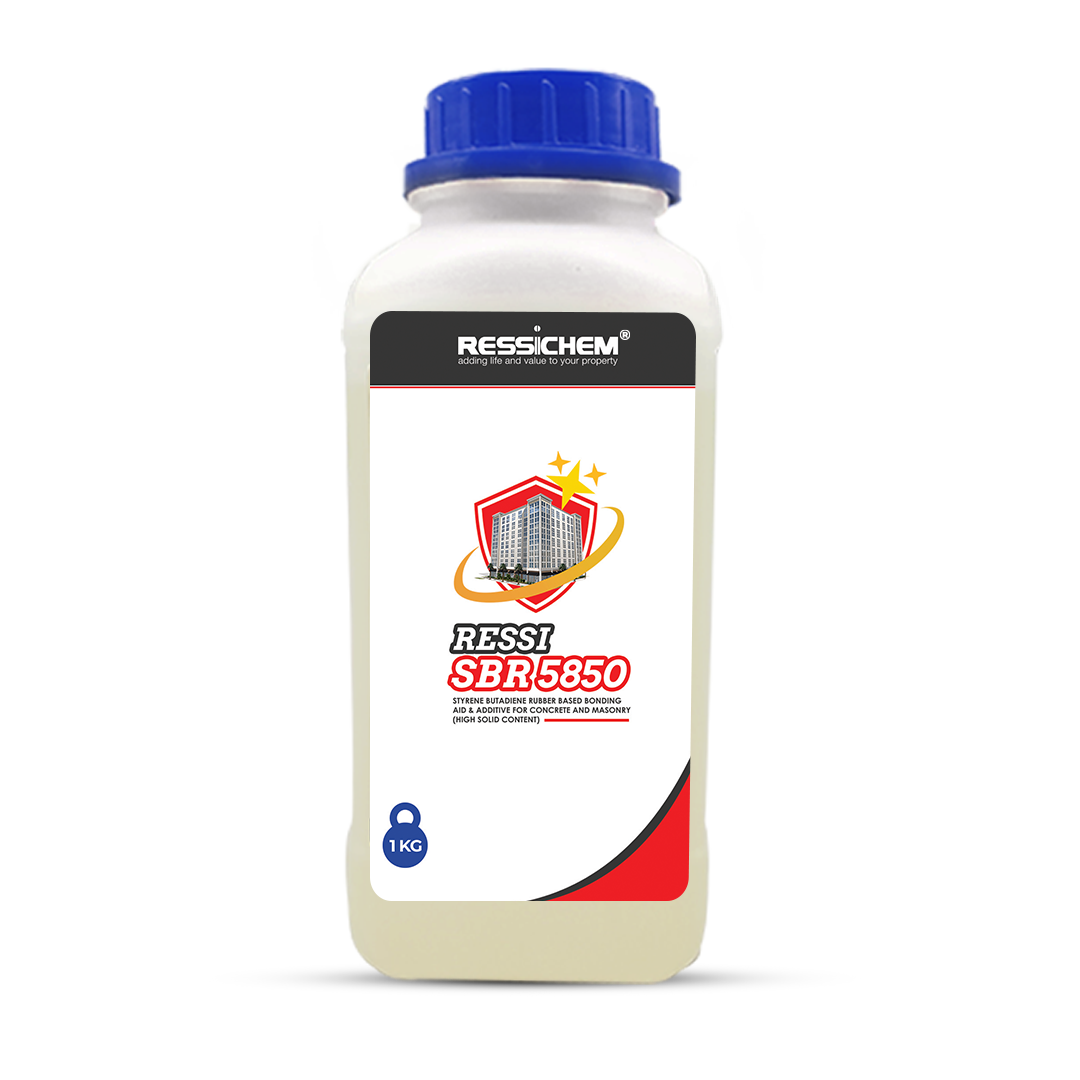
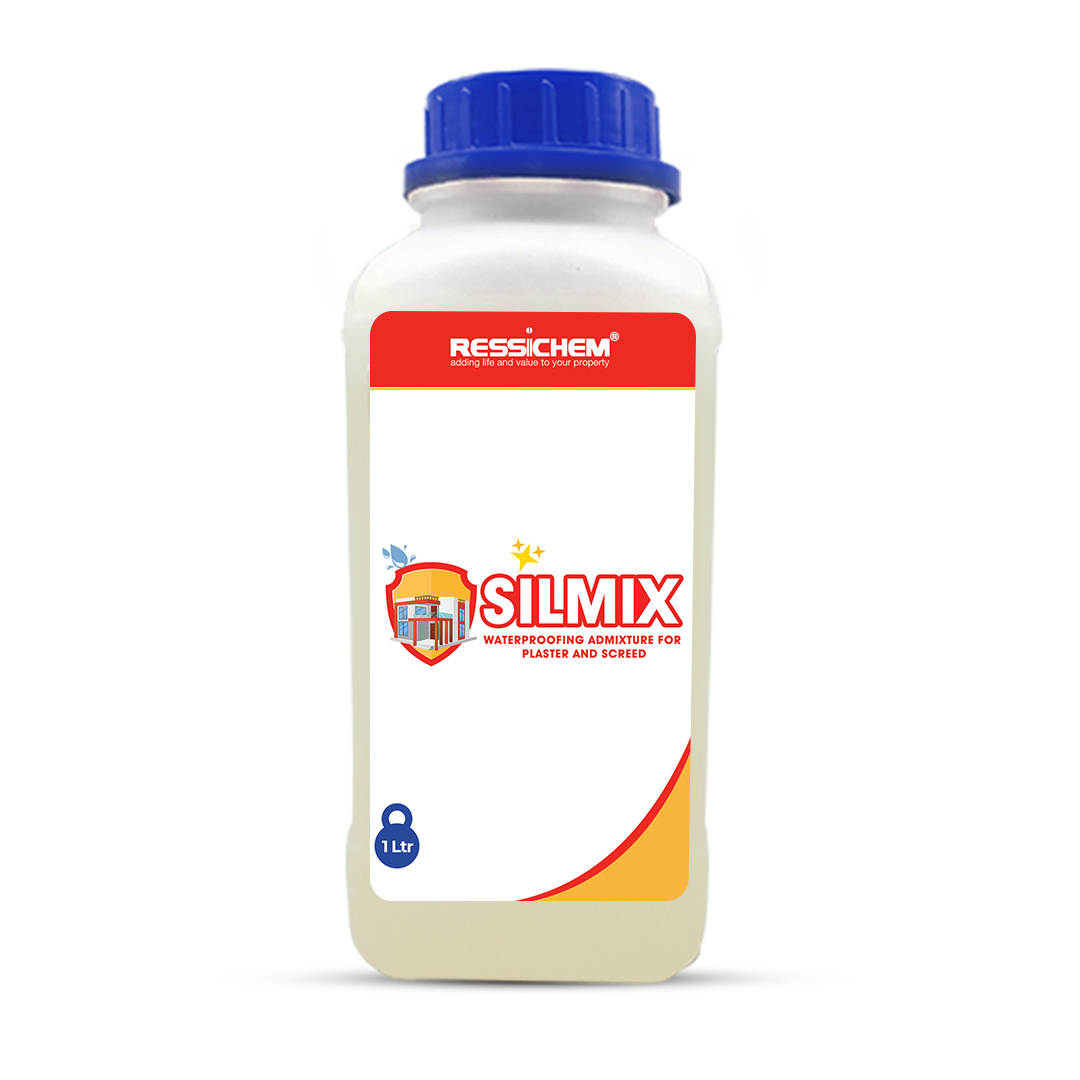
Once all the chamfer work has been properly executed, the inner and outer surfaces of the basement should be ready to plaster. It is recommended to use Silmix and Ressi SBR 5850 as mortar admixtures to make sure that there is a reduction of cracks in the plaster and the plaster itself is water repellent. It is recommended to add 1 Liter of Silmix along with 1 Ltr of Ressi SBR 5850 with every bag of cement used for the plastering of internal and external areas of the basement. It is to be ensured that the external plaster of the basement should be finished slightly rough, exposing some grains using a foam (Foam finish plaster). This will provide a good key for the subsequent coating of Water Guard 491.

Once all the internal and external plastering works have been completed, it is recommended to apply at least 2 coats of Water Guard 491 in all the external plastered areas of the basement. It is recommended that both the coats are applied in opposite right-angled directions.
If the first coat is applied with vertical brush strokes, the second coat is to be applied with horizontal brush strokes. (For further application and mixing guidelines of Water Guard 491, please refer to the technical datasheet of the product)

A screed is usually poured over the floor of the basement. It is recommended to use a good strong mix design for the screed. It is also recommended to add Ressi SBR 5850 along with the addition of Silmix within the mix of the screed. The recommended dosage of Ressi SBR 5850 and Silmix is 1 Ltr each for every 50 KG Bag of cement used in the placement of floor screed over basement raft.

Prior to back filling of the basement, it is essential to have a
final inspection of the basement and make sure that there are no
spaces which have been left uncovered with any type of chemical
treatment as previously explained in this system. If there any voids
within the basements they should be properly addressed and made sure
that it is watertight prior to back filling of the basement.
Note: In the entire process from
excavation to the final finishing of the external retaining wall, it
is to be ensured that there is constant dewatering of the basement
area and it is kept dry. It is also essential to make sure proper
curing of concrete and plaster works are done at every step of the
way


Is a transitional edge between two faces of an object. Sometimes
defined as a form of bevel, it is often created at a 45° angle
between two adjoining right-angled faces. ( Wikipedia).
In waterproofing systems, making a chamfer is of great significance.
Water normally gets stuck in areas which have sharp corners of 90° &
on several occasions the leakage of water occurs from this the sharp
angle of the water retaining bodies or areas where significant
waterproofing is required. To minimize the effect of this, a chamfer
is usually created to make sure that there are no sharp angles in
the structure to minimize the effect of water coming in & out of the
structure.

Waterproofing System Of Basements
Waterproofing System Of Basements
A foundation issue is perhaps the worst thing that happens to a structural, other than burning down. Water is the most common cause of foundation difficulties. Wet soil beneath a foundation can bulge and weaken. With a new approach to Foundation waterproofing, Ressichem has bought basement leak repair and basement sealing applications to keep the foundation dry through a basement waterproofing membrane.
Waterproofing in the basement withstands bending and shear loads caused by lateral water and soil pressures. Our foundation waterproofing membrane keeps your walls strong, durable, and safe.