Call Us:
+92-21-111-052-052
,
+92-309-7772464
Step 1: Assessment of the surface
Step 2: Crack filling of the floor using Ressi EPO Crack Fill.
Step 3: Application of Ressi EPO FS 5000.
Step 4: Surface Grinding and preparation.
Step 5: Application of Ressi EPO Primer.
Step 6: Application of Epoxy topcoat.
Epoxies are polymer materials that begin life as liquids and are converted to the solid polymers by a chemical reaction. An epoxy-based polymer is mechanically strong, chemically resistant to degradation of the chemical elements in the solid form & highly adhesive during conversion from liquid to solid. There are a wide range of basic epoxy chemicals from which an epoxy system can be formulated.
Epoxies are known for their excellent adhesion, chemical and heat resistance, good to excellent mechanical properties & particularly good electrical insulating properties. Almost any property can be modified. Epoxy floorings are surfaces that comprise of multiple layers of epoxy that is applied to a floor of depth varying from 300 microns to 4mm or above. Following is a description for the application of a thick bed epoxy flooring system using Ressi EPO FS 5000 (Thick applied epoxy floor screed) to achieve high epoxy thicknesses along with a good price to performance ratio.
It is essential to assess the surface on which the application of an epoxy flooring is suggested. If the surface is not ready to accept the subsequent products, it is recommended to prepare a floor which is appropriate to receive the proper epoxy flooring treatment. Usually for freshly laid concrete, it is recommended to make sure that the concrete is at least 28 days old and has a moisture content which is less than 5%. It is also to be ensured that the concrete Is levelled and reasonably smooth.
Note: Generally, better the surface, better the finishing of the subsequent layer of finishing epoxy. It is recommended to keep the floor as levelled and straight as possible, even if there is a slope, it is recommended to make sure that the surface is as straight as possible in a slope

Once the surface has been laid, and properly prepared, there should not be any cracks over the floor. Incase if there are cracks on the floor due to minor shrinkage or some usage of the floor crack filling should be done using Ressi EPO Crack Fill. Once the relative cracks have been identified over the floor it is essential to prepare the floor for the subsequent treatments of Flooring Epoxy Crack Fillers. If the hair line cracks are less then 2mm wide, it is recommended to slightly open the cracks using a chisel hammer or any other appropriate tools. Once the cracks have been opened, it is recommended to clean all the loose debris from the floor and cleaning the cracks with a wet brush and some water. Once it has been clean make sure that the floor itself is dry. Cleaning of the surface is essential as poor cleaning may result in the debonding of the crack fillers applied on the surface. It is also essential to make sure that the floor surface is free from any dust, oil, grease, laitance, or any other material which may result in the debonding of the crack filling material. Once the crack has been opened and proper surface has been prepared, the surface is ready to take in the subsequent crack filling of Ressi EPO Crack Fill.
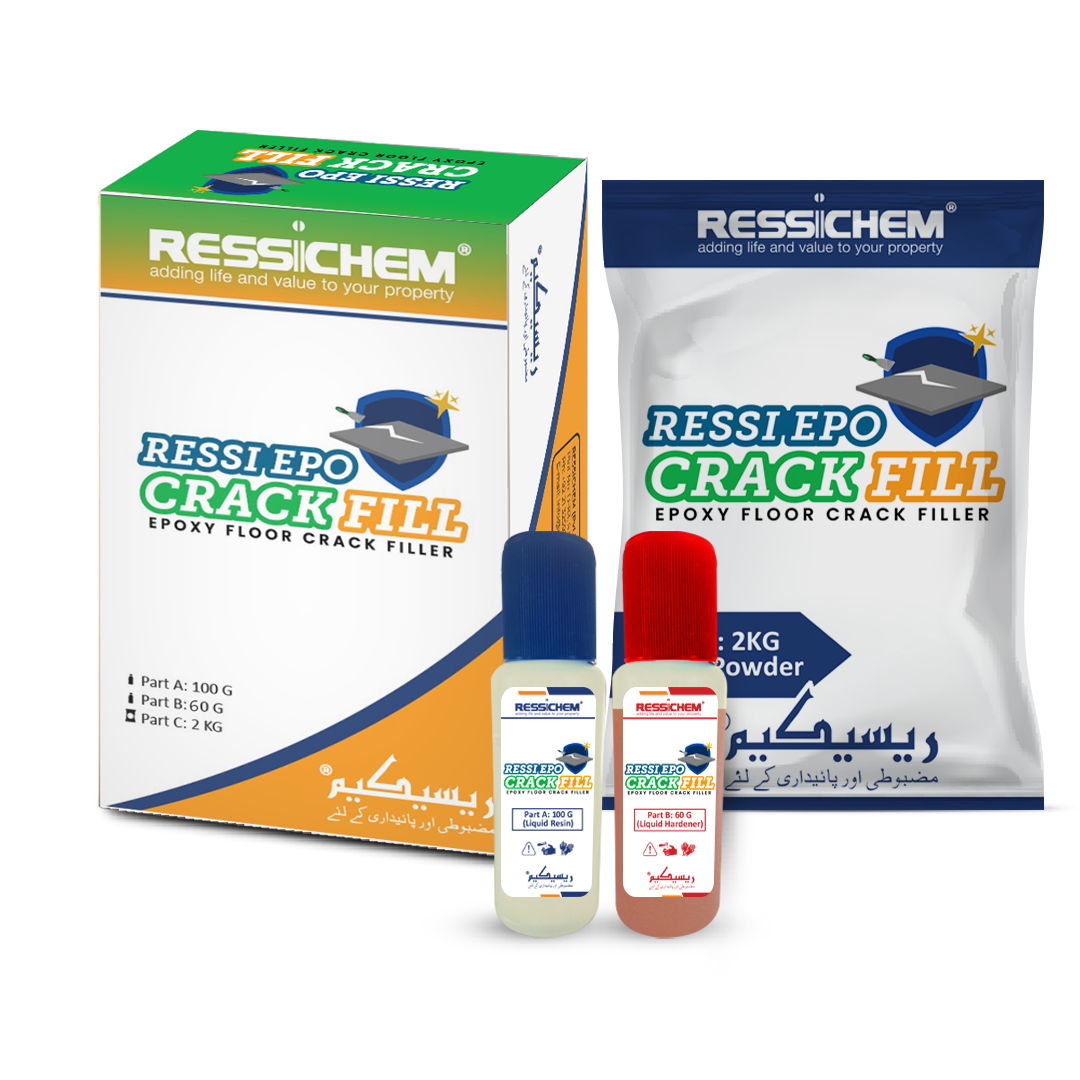
Ressi EPO Crack fill is a three-component epoxy-based crack filler. It contains Base Resin (Part A), Hardener (Part B) and Filler component (Part C).

It is essential that the ratios of the resin and Hardeners should always be consistent (1 part Resin and 0.8 Parts Hardener). The filler ratio can be adjusted as per the requirements of the crack filler.
If the cracks are deep (above 4mm in depth), the filler ratio can be adjusted to make the Ressi EPO Crack Fill more flowable so that it can penetrate within the cracks, if the cracks of the floor are less then 4mm deep, the filler ratio can be adjusted to make a putty like paste of Ressi EPO Crack Fill material so that it can easily be applied with a scrapper.
Ressi EPO FS 5000 is a three-component solvent free epoxy resin, self-smoothening, heavy duty impact and abrasion resistant flooring system. It provides excellent mechanical resistance. Ressi EPO FS 5000 is suitable for use in food and pharmaceutical industry where high levels of hygiene and cleanliness are required. Due to it high abrasion resistance property. It is recommended to apply a topcoat of appropriate Ressichem Epoxy flooring material to achieve the proper chemical and abrasion resistant properties. Ressi EPO FS 5000 is ideally suitable for chemical industries, laboratories etc. It is also highly suitable for floor applications in light, medium and heavy traffic industries.
Surfaces should be free from grease, oil, chemical contamination, dust, laitance, and loose concrete. Appropriate surface preparation equipment such as shot blast, scarify or grinder must be used to obtain sound substrate. This material is suitable for mostly concrete surfaces only. Surfaces which show any traces of oil must be degreased with a chemical degreaser prior to grit blasting. Cracks, pinholes, potholes should be repaired with the appropriate patch series repair materials or recommended Ressichem Epoxy putties. Uneven concrete should be levelled to produce a roughened flat surface. New concrete floors should be at least 28 days old prior to the application of Ressi EPO FS 5000 Moisture content of the floor must be less than 5%. Expansion control and isolation joints in concrete should be carried through appropriate materials recommended by Ressichem.
Prepared surfaces can be primed using Ressi EPO Primer or an appropriate primer recommended by Ressichem. The primer can be brushed into the substrate using a stiff brush or roller and allowed to become tacky (10 – 20 mins) before the application of Ressi EPO FS 5000. The primer should not be allowed to dry. If the primer has dried additional coat of primer should be allowed to become tacky.

If the surface is damp, it is preferred to use Ressichem Damp Seal as a primer coat which cures with the inherent moisture and will not adversely affect the adhesion of the top layer.
Stir the base and hardener components separately. Mix thoroughly with a slow speed drill attached with the paddle for at least one minute (400-600 rpm). Add entire filler component slowly and continue mixing for two minutes to get uniform and homogenous mix. Scrape the sides edges and the bottom of the mixing container using a spatula and continue mixing for a further 2 minutes.
Lay Ressi EPO FS 5000 over the prepared surface of while the primer is still tacky. Spread out with a notched trowel to a uniform thickness. Level the screed with a wooden float and compact to required levels. If the material is used as a final finish strike with a steel trowel to achieve a smooth resin rich surface finish. It can also be power floated to achieve a uniform surface. Where the floor is subjected to chemical, oil or water spillage or where hygiene is important, the finished floor must be sealed using an appropriate sealer or Epoxy topcoat from the Ressichem range of products.
The prepared surface of Ressi EPO FS 5000 should be free from grease, oil, chemical contamination, dust, laitance, and loose materials. Appropriate surface preparation equipment such as a grinder must be used to obtain sound substrate. Uneven surface of Ressi EPO FS 5000 should be leveled to produce flat surfaces. Ressi EPO FS 5000 must be at least 7 days old prior to application. The moisture content of the material must be less than 5%.

Ressi EPO Primer is an epoxy-based Primer to be used prior to the application of epoxy flooring and coatings over concrete and cementitious surfaces. It can also be applied over the surface of Ressi EPO FS 5000. It is an ideal material to be used in conjunction with various epoxy flooring materials. It is used as a priming coat on concrete and cementitious as well as the laid surface of Ressi EPO FS 5000 surfaces prior to the application of various epoxy floorings and coatings. Typical areas of applications include car parks, factory floors, food industry, kitchens, aircraft hangers, hospitals, pharmaceutical plants, warehouses etc. It can be used as a clear coat to maintain original color and appearance of substrates which are not exposed to UV rays.
Apply the material with a suitable squeegee, stiff nylon brush, roller or suitable tools working the Ressi EPO Primer into the substrate to ensure total absorption into the pinholes and voids. Spray application is also possible. Airless spray will provide faster rate of application.

Prepared surfaces should be primed using Ressi EPO Primer. The primer should be brushed into the substrate using a stiff brush or roller and allowed to become tacky (10-20mins) before the application of Ressi EPO Tough Might. The primer should be allowed to dry. If the primer has dried, additional coat of the primer should be applied and allowed to become tacky.
There are a variety of epoxy topcoat materials that can be applied over the surface of Ressi EPO FS 5000.
1. Ressi EPO Tough Might: Heavy-duty general-purpose epoxy flooring.
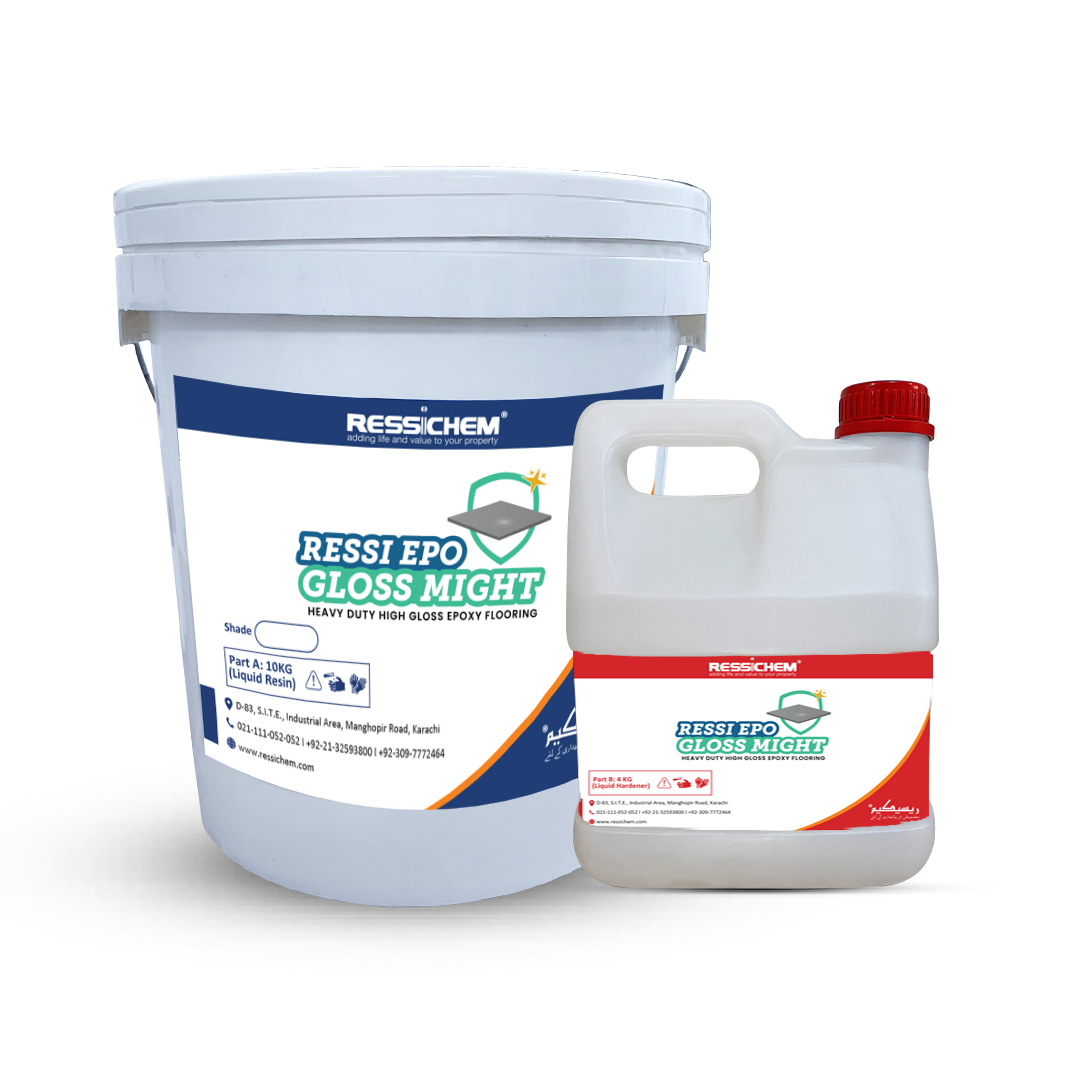
2. Ressi EPO Gloss Might: Heavy duty high gloss epoxy flooring.
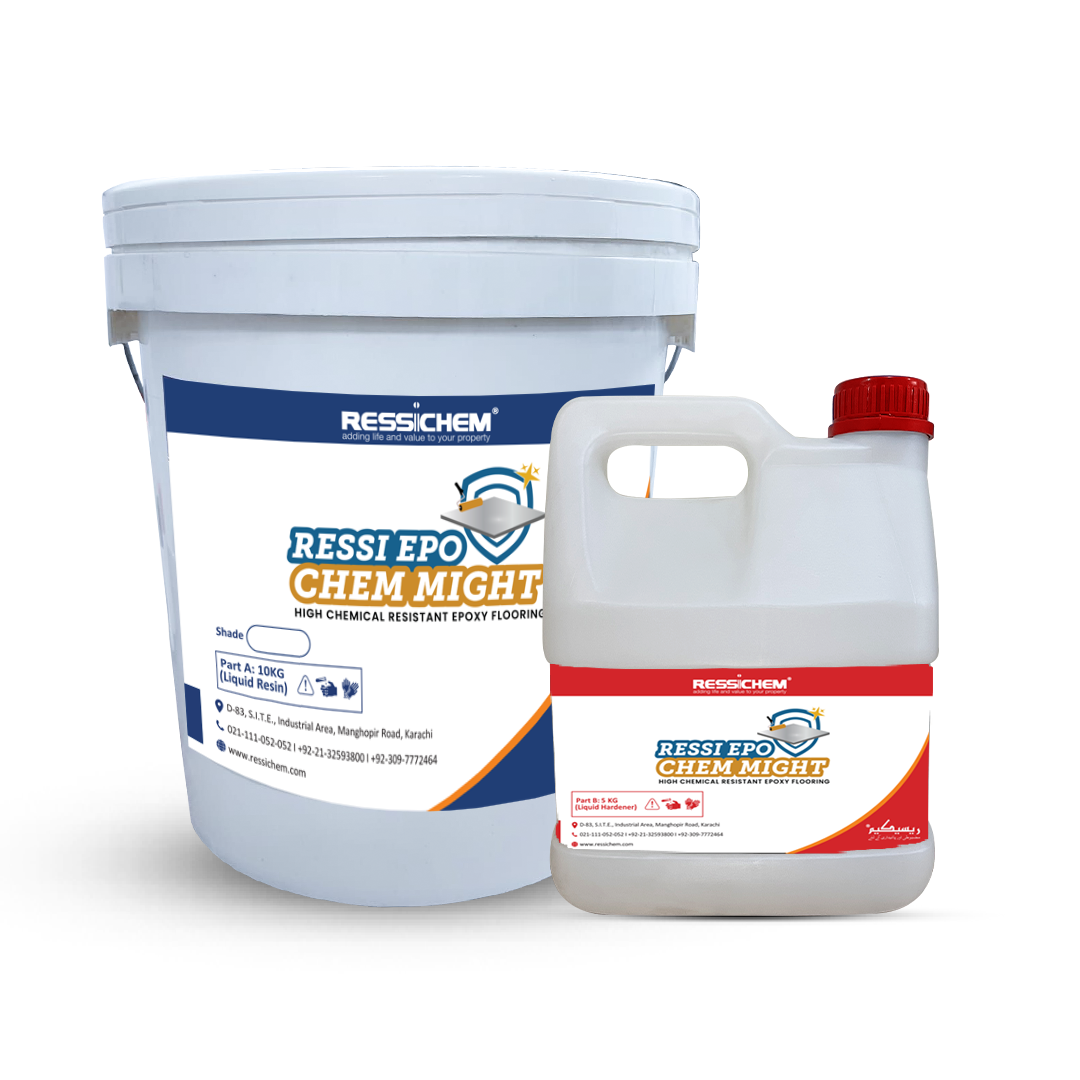
3. Ressi EPO Chem Might: High chemical resistant epoxy flooring.
4. Ressi EPO Roll Coat: Thin applied pigmented epoxy roller applied coat.
Please refer to the product datasheets for further information.


A: Concrete Slab / Screed
B: Cracks
C: Ressi EPO Crack Fill
D: Ressi EPO FS 5000
E: Ressi EPO Primer
F: Ressi EPO Tough Might
Thick Epoxy Floor System (3mm TO 6mm).
Thick Epoxy Floor System (3mm TO 6mm)